內容目錄
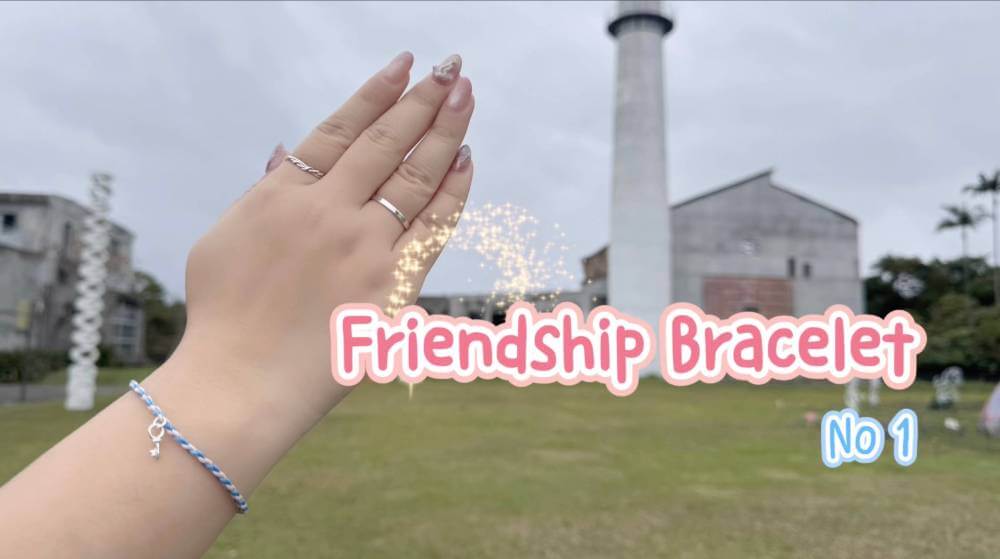
Friendship Bracelet DIY – 4 Strand Round Braid
step by step video
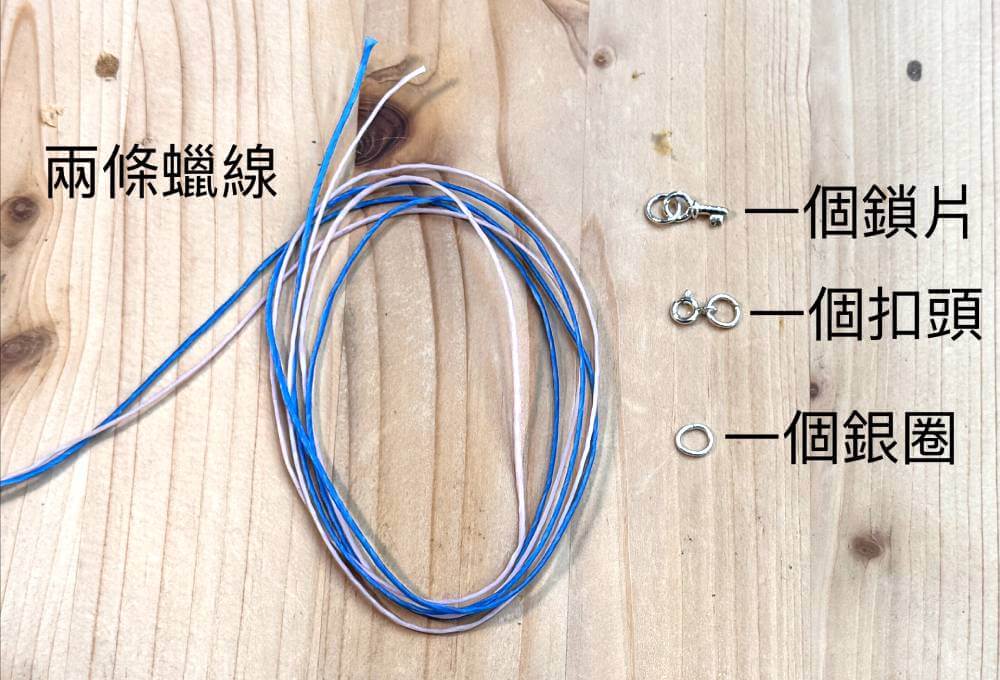
4 strand round braid friendship bracelet material
- two waxed cords
- one silver pendant
- one silver spring ring clasp
- one soldered jump ring
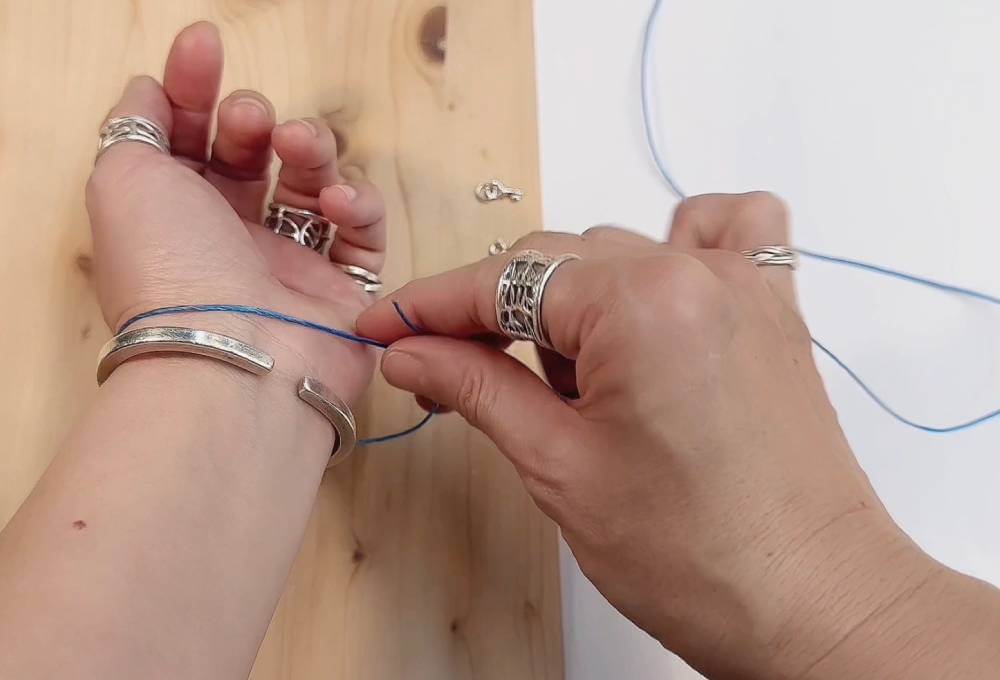
Step 1 Measure the length
Measure the length of the bracelet with one of the waxed cords.
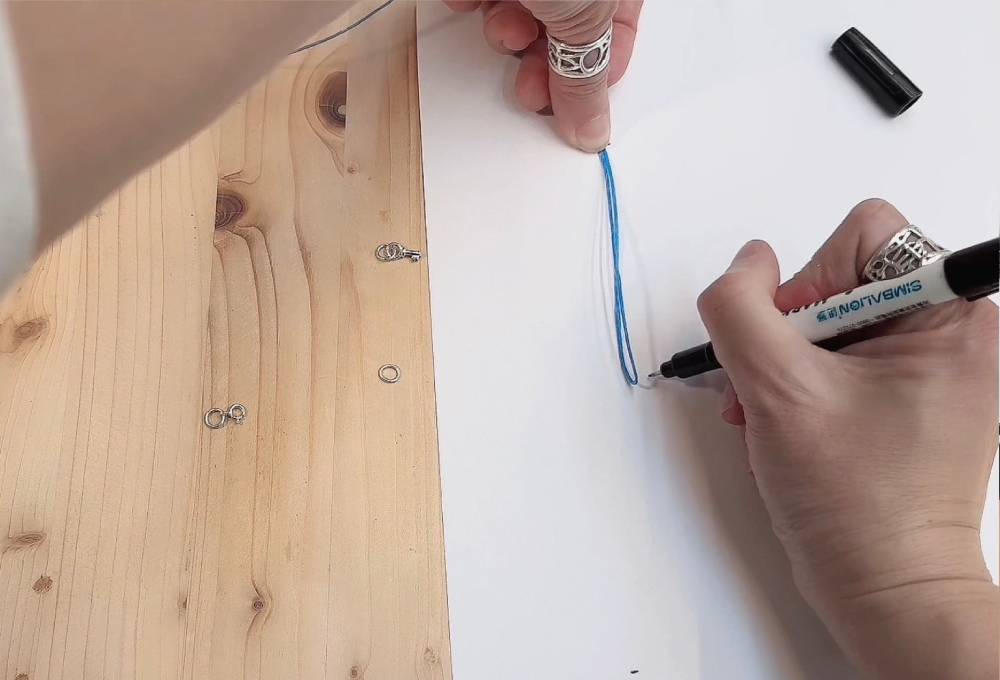
Mark the length on a piece of paper.
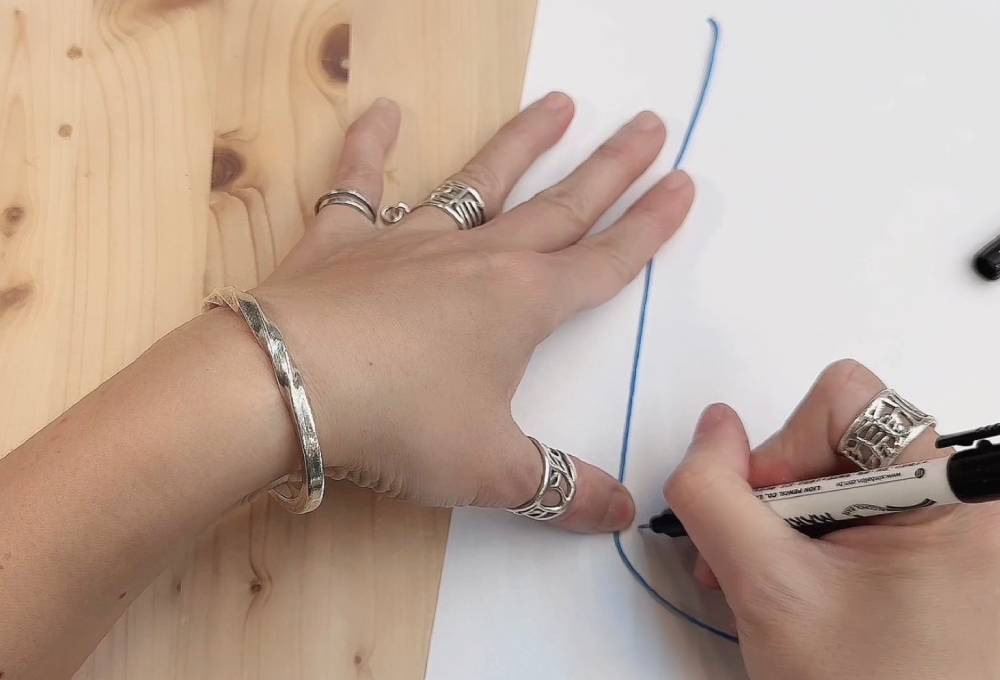
Find the center point and mark it on the paper as well. This is where the silver pendant will be placed.
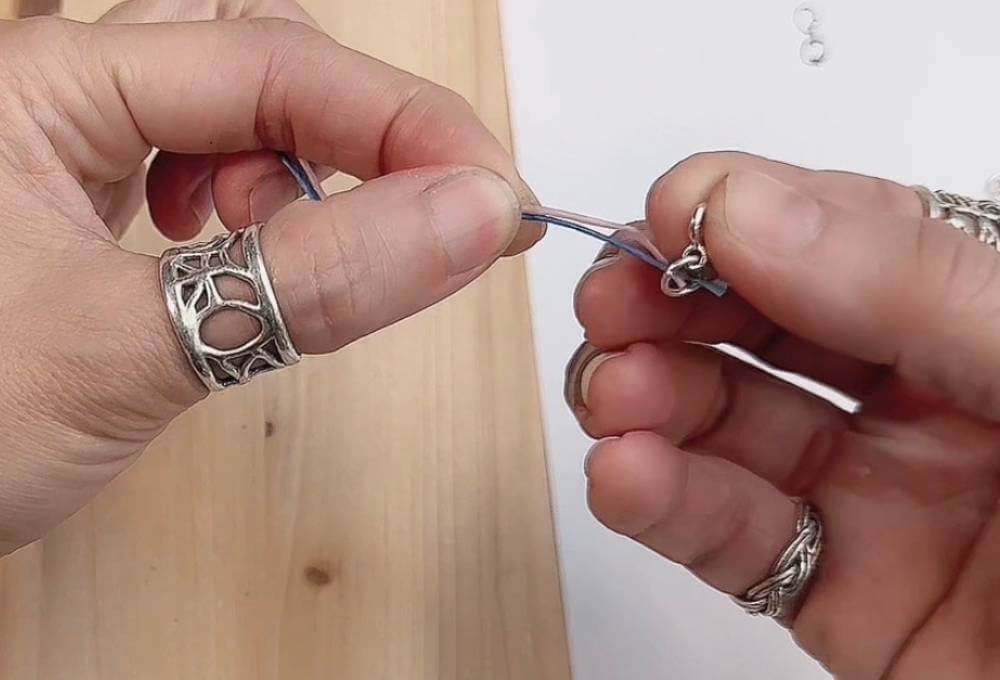
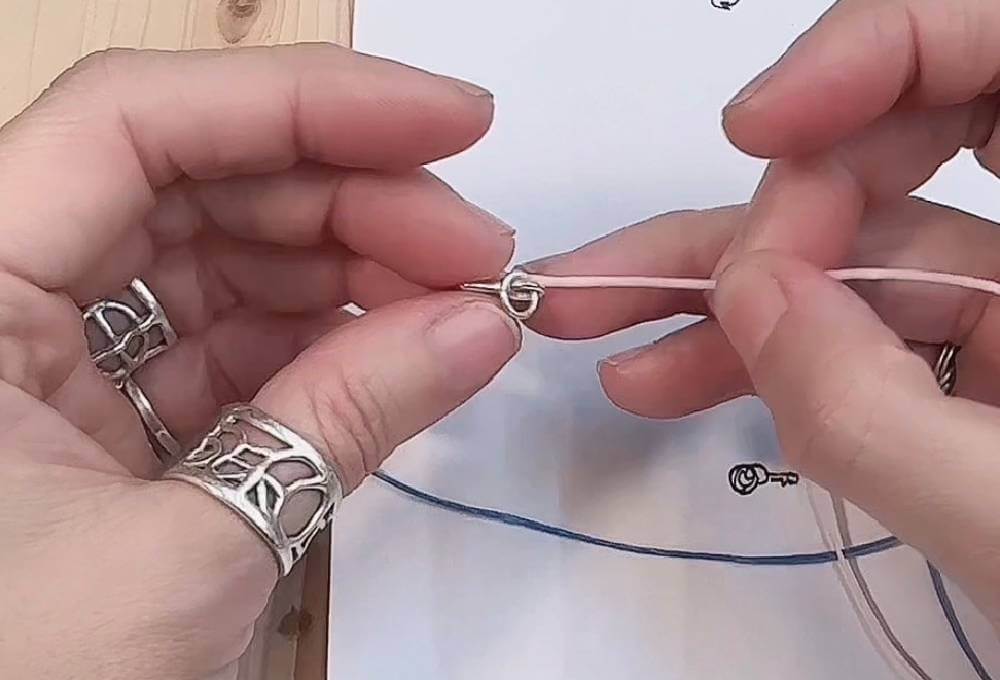
Step 2 Thread the silver spring ring clasp and fix it onto the table
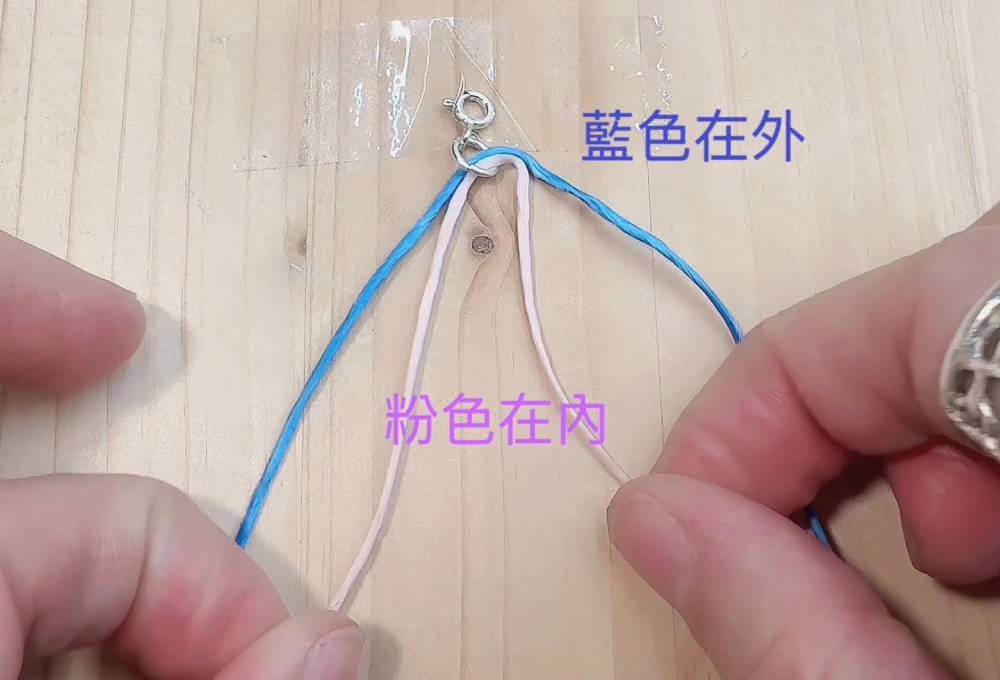
Fold the two cords in half. Thread the silver spring ring clasp through the folded cords.
Use tape to fix the silver spring ring clasp onto the table. At the beginning, work on the table. This helps you get familiar with the knotting method.

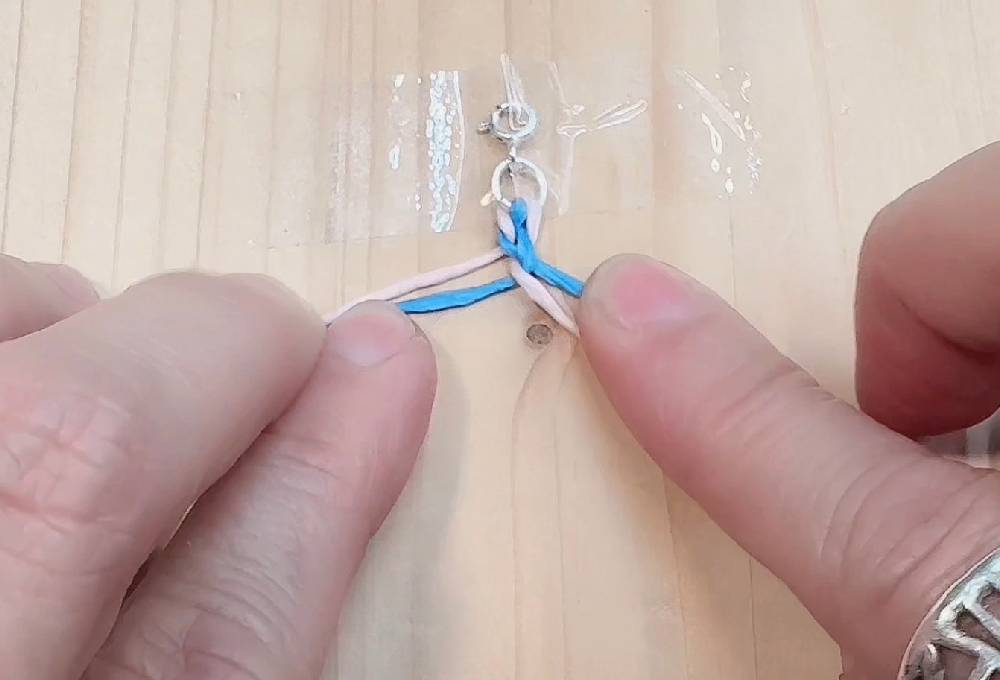
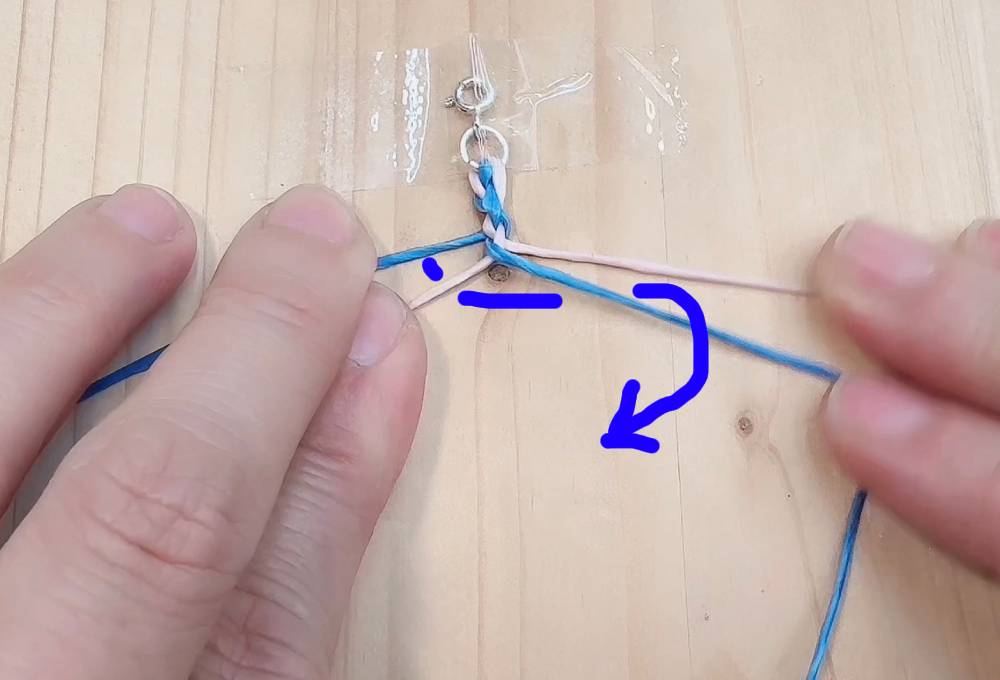
Step 3 Weaving the cords
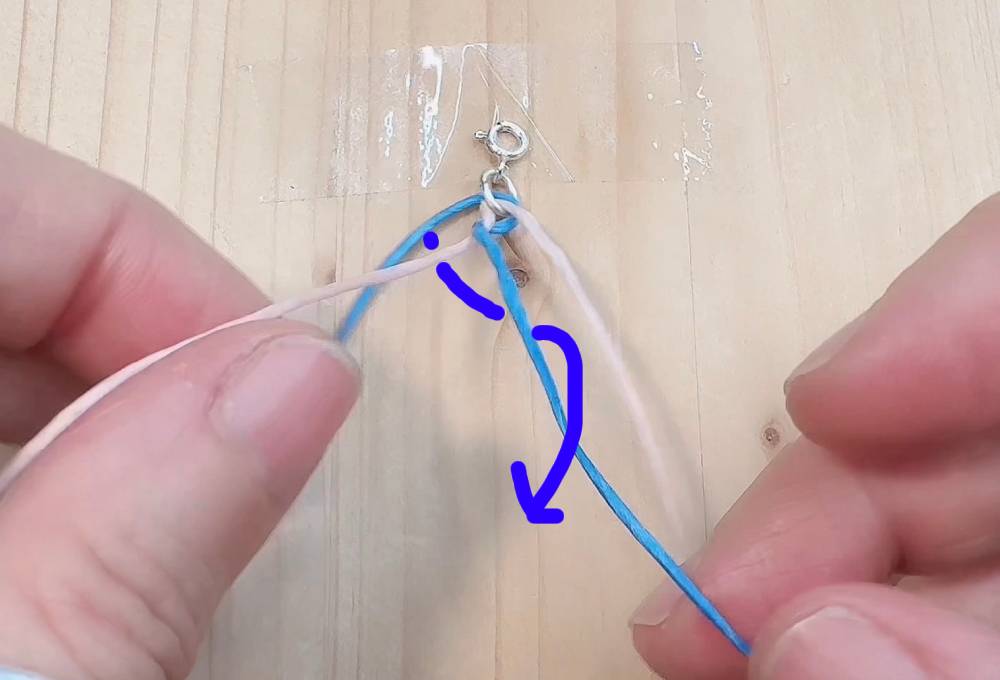
Blue on the outside, pink on the inside.
From the right side, take the outer blue cord and pass it under the two pink cords. Then bring it over the left pink cord and back to the right side.
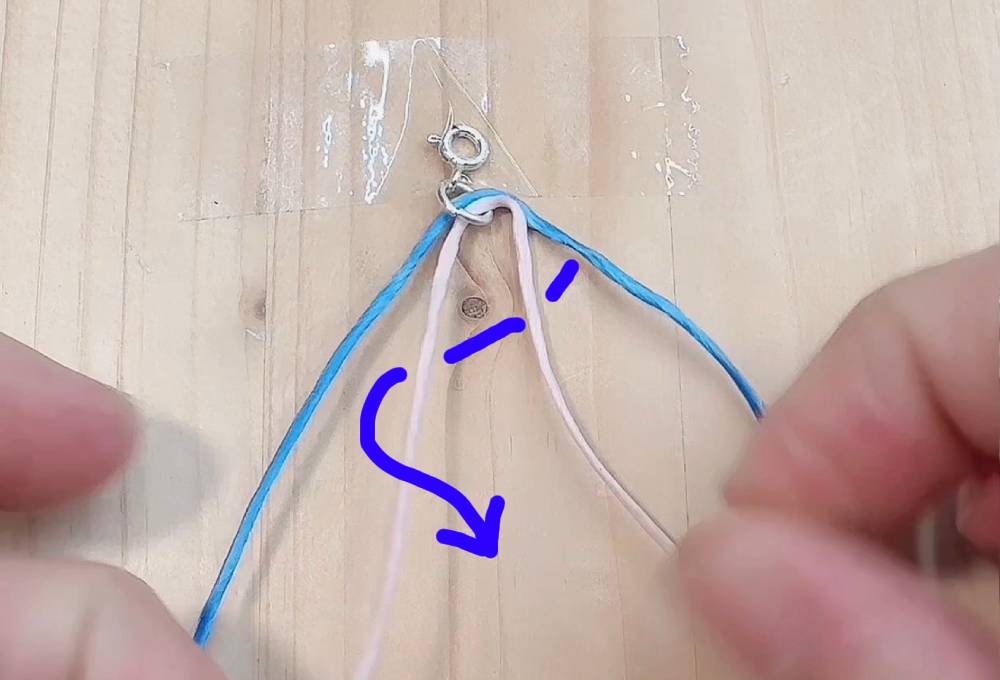
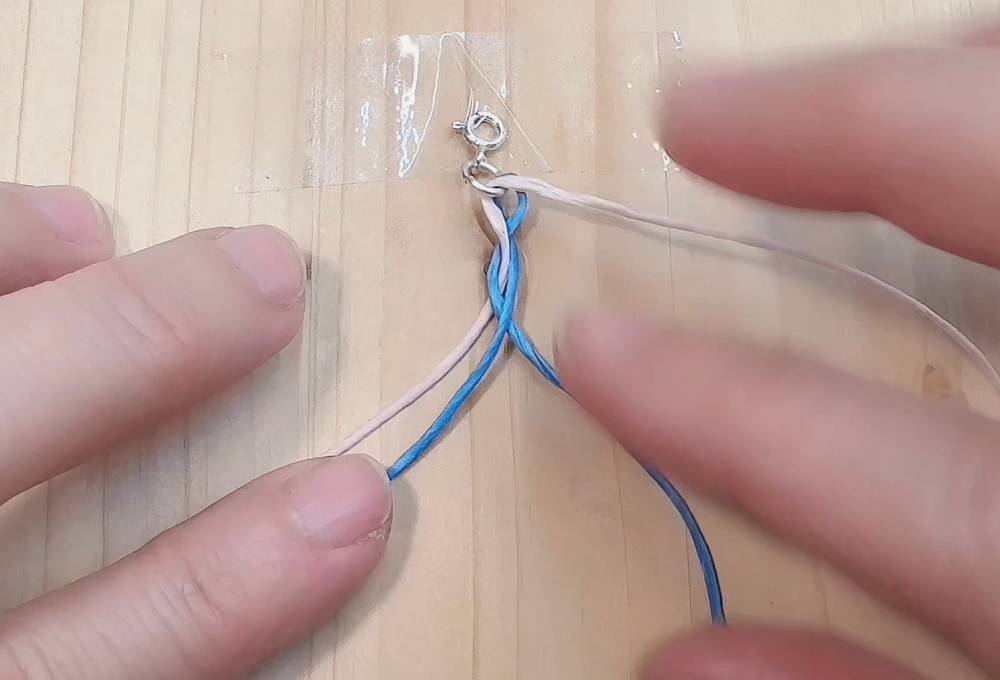
After you finish this step, it will look like the photo below.
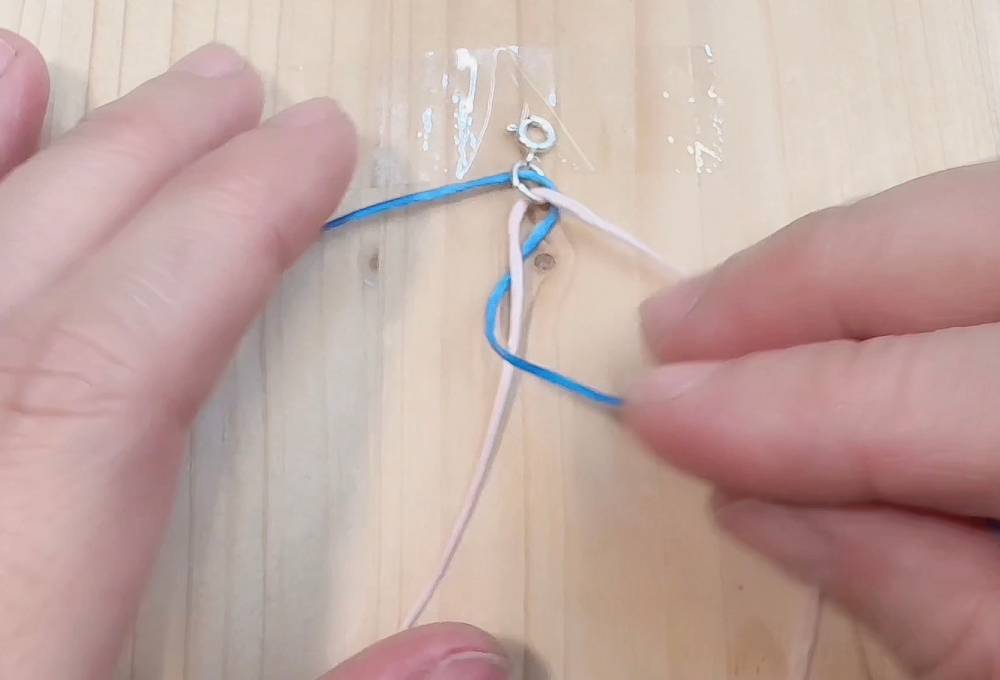
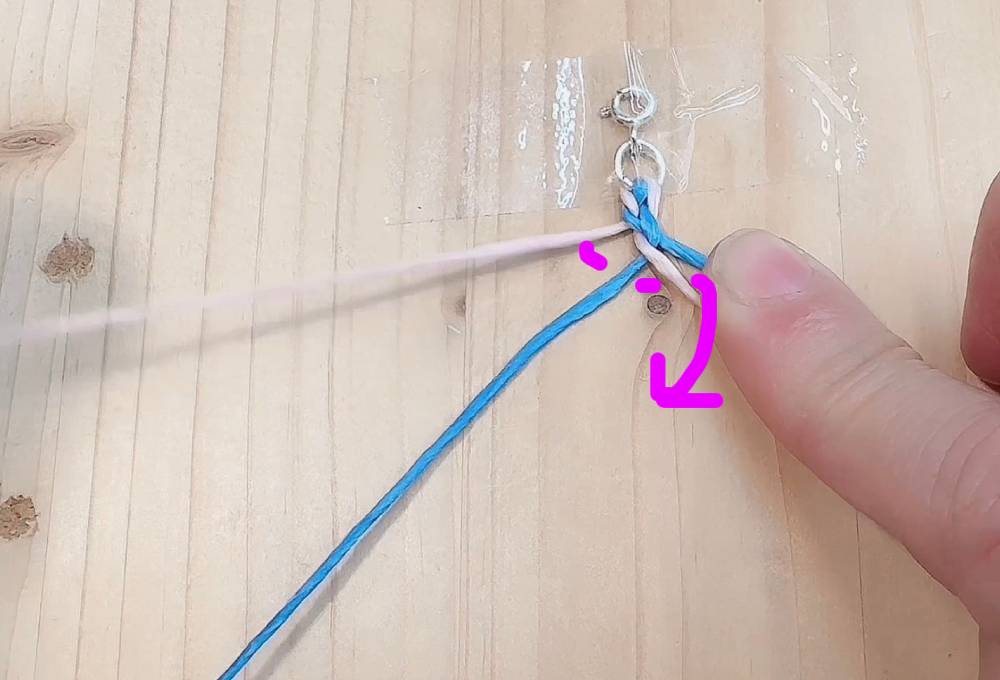
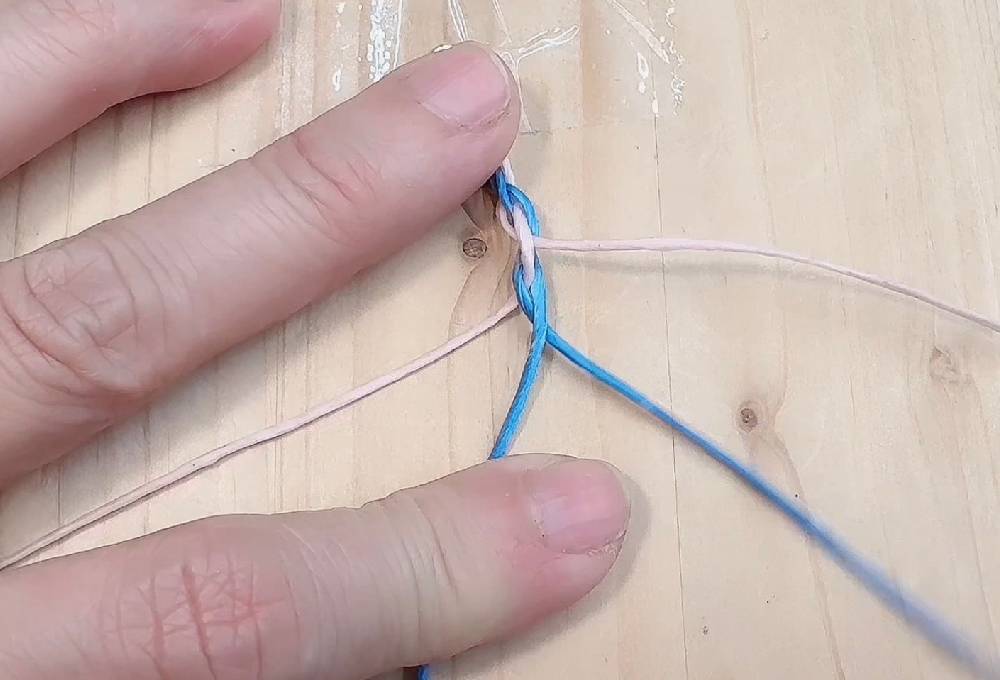
Now, on the right side, pink is on the outside and blue is on the inside.
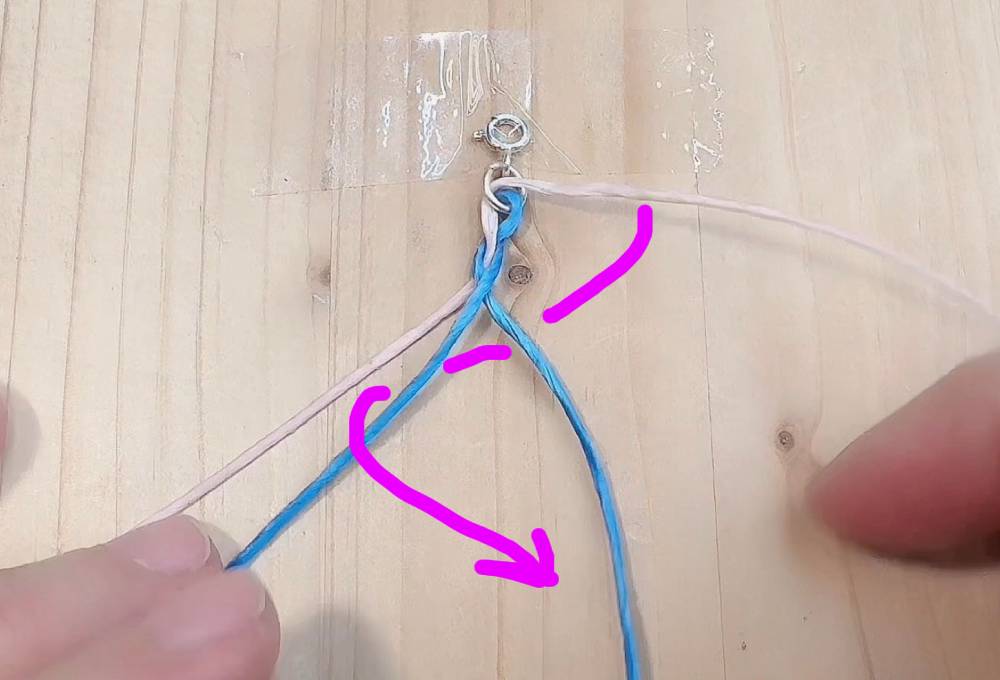
Take the blue cord on the left and pass it under the two center cords. Then bring it over the blue cord on the right and back to the left side.
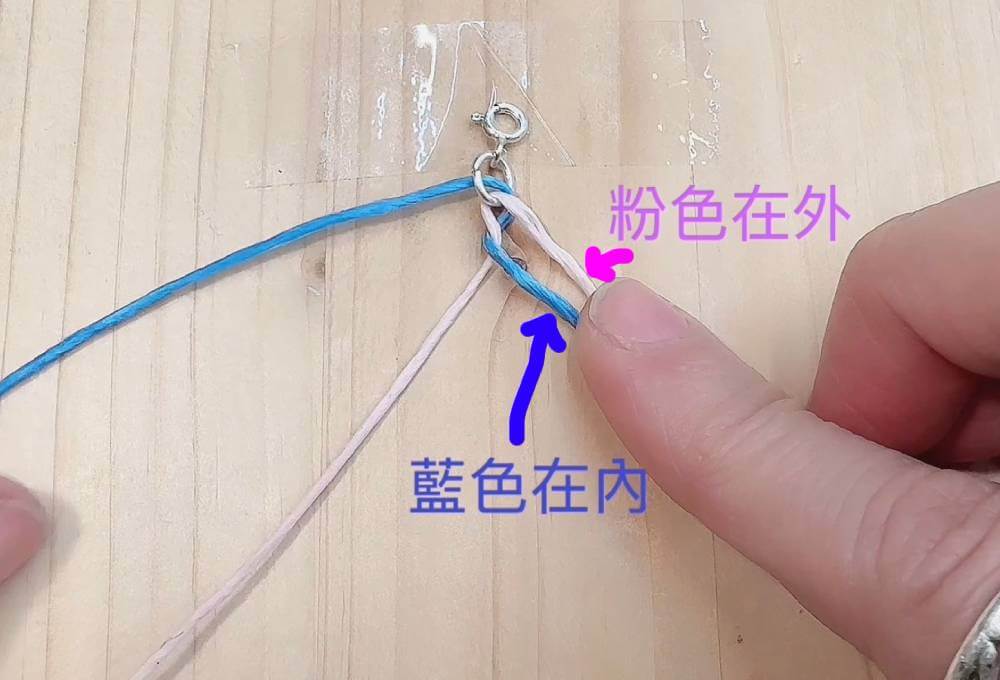
After you finish this step, it will look like the photo below.
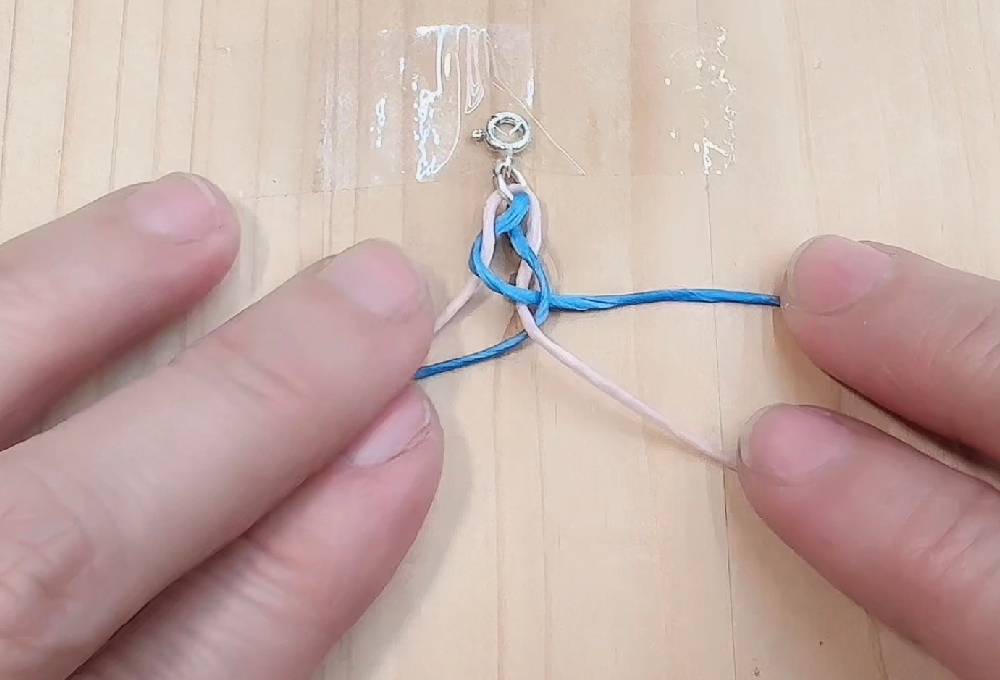
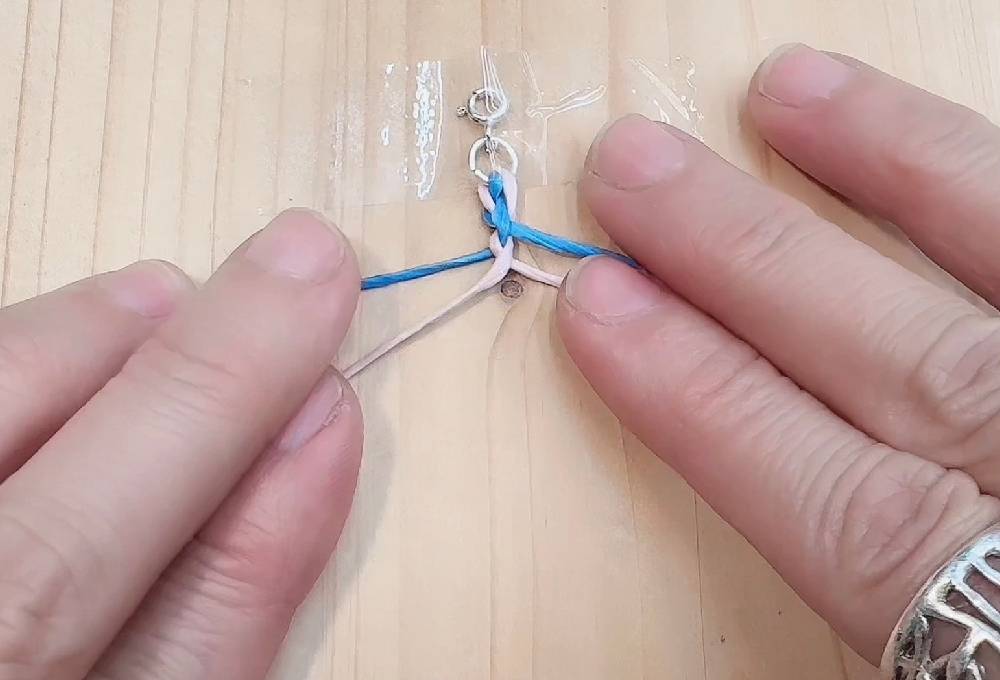
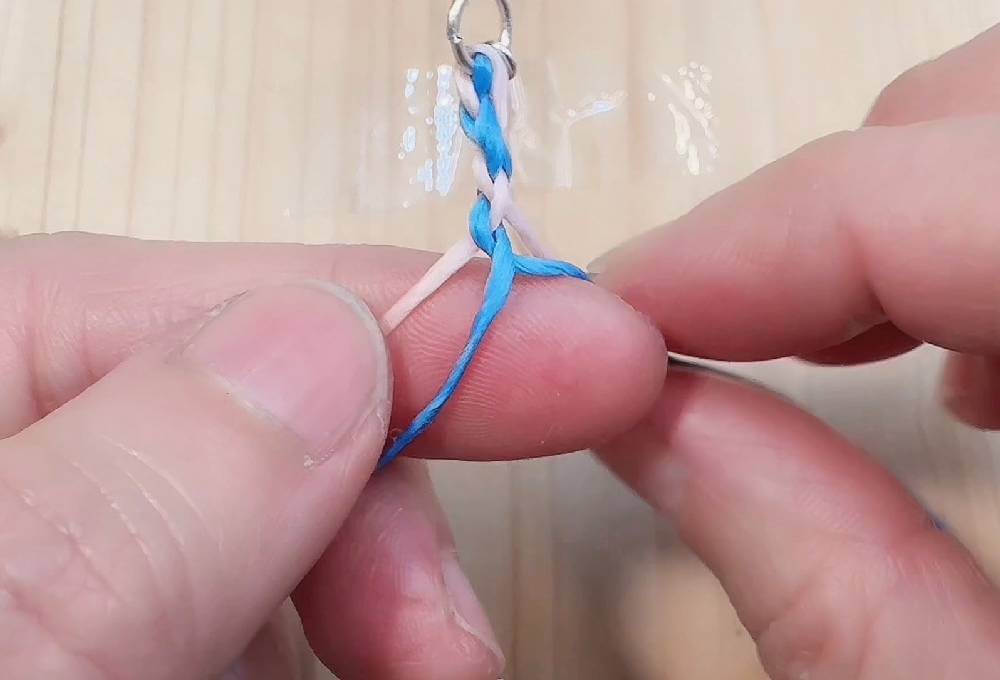
Continue by referring to the photo below to wrap the outer pink cord to the inside.
It will look like the photo below.
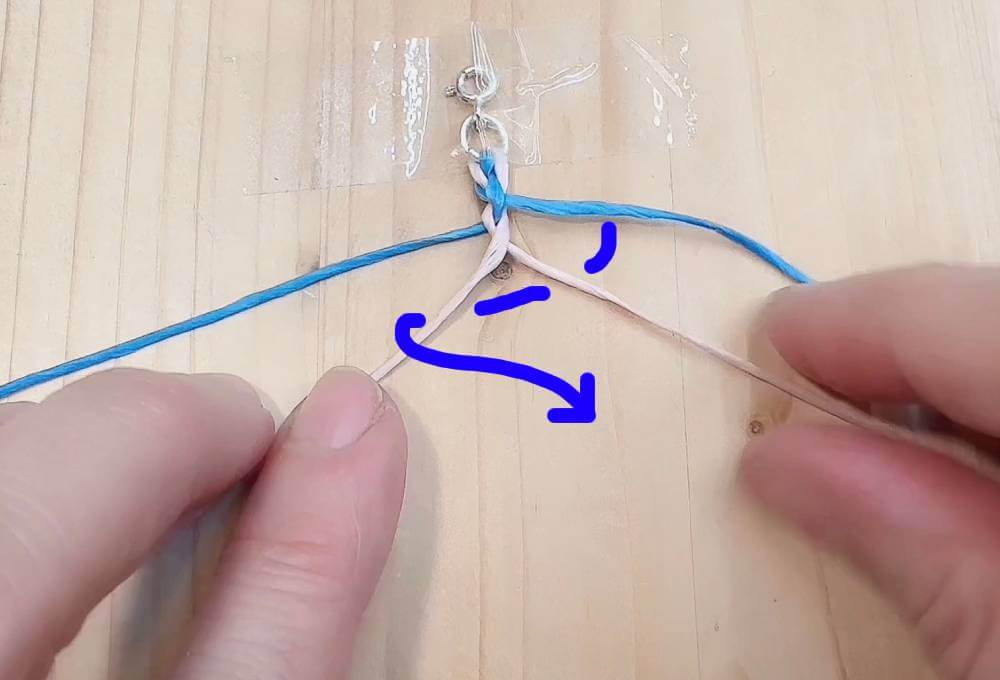
Pull the cords a little tighter to make the pattern clearer.
Continue moving the outer pink cord to the inside.
Make sure it looks like the photo below.
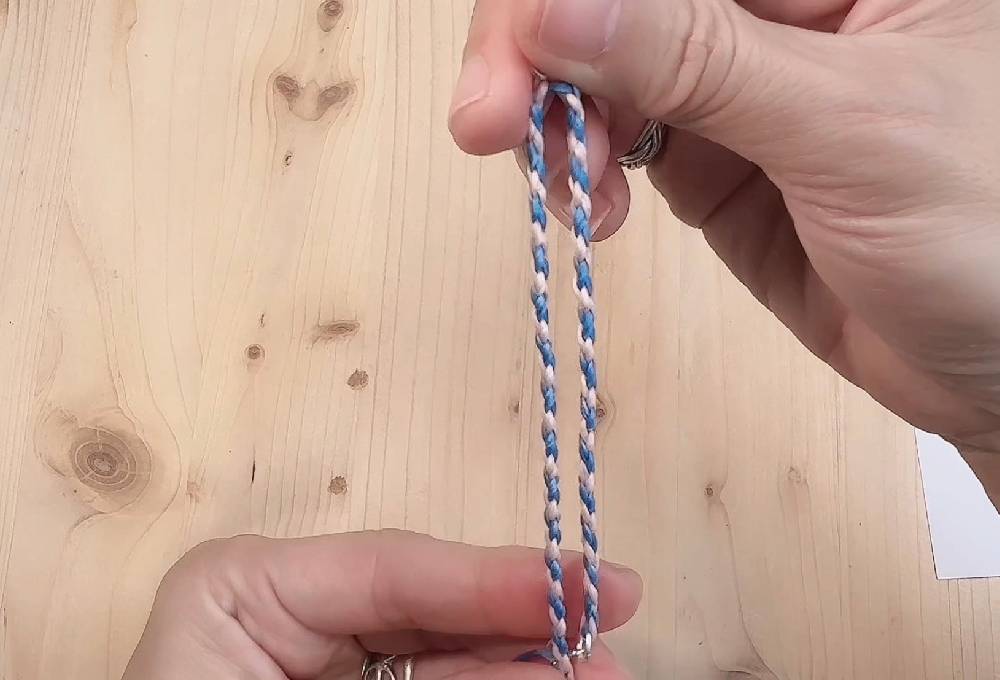
Repeat these steps, moving the outer cord to the inside each time.
After weaving about two centimeters and getting familiar with the steps, you can hold it in your hands and continue.
Continue following the same order, moving the outer cords to the inside. Remember to tighten the cords after each step.
Step 4 Add silver pendant
While weaving, check the position for the silver pendant. When the length is almost right, it’s time to add the silver pendant.
Choose any one of the four cords and pass it through the silver pendant.
Continue weaving in the same order, and the silver pendant will naturally be woven into the bracelet.
The silver pendant is now naturally incorporated into the bracelet.
Continue weaving the second half.
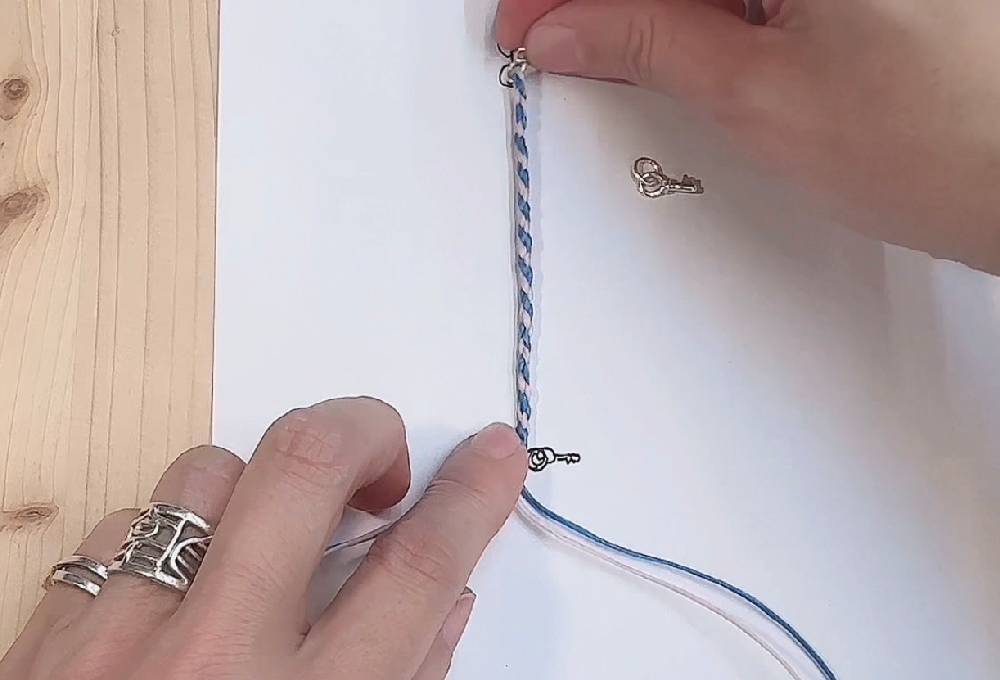
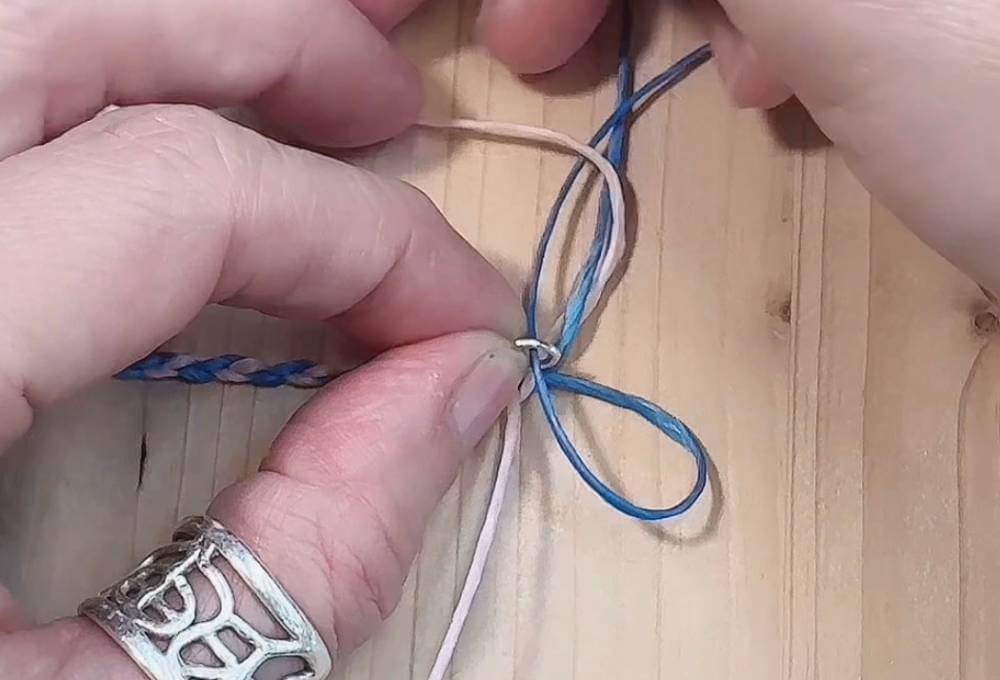
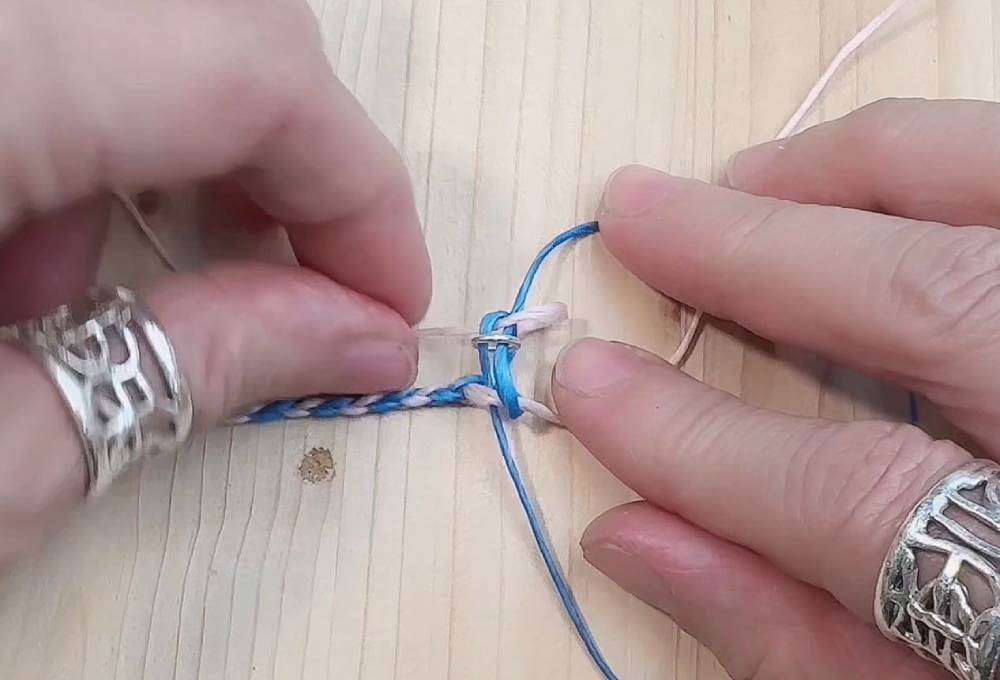
Step 5 Add soldered jump ring
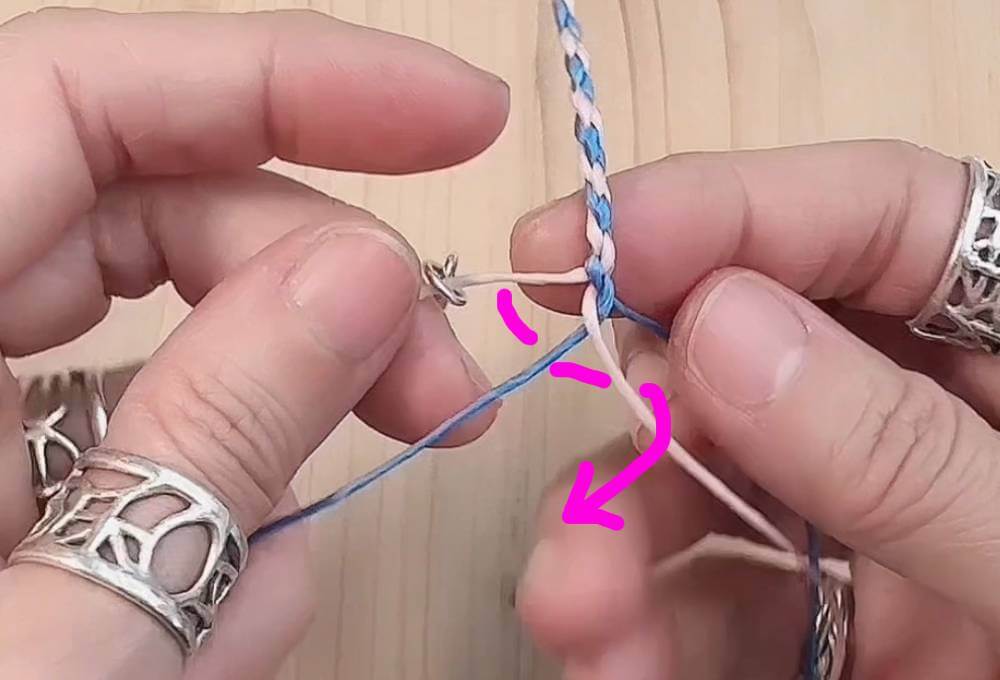
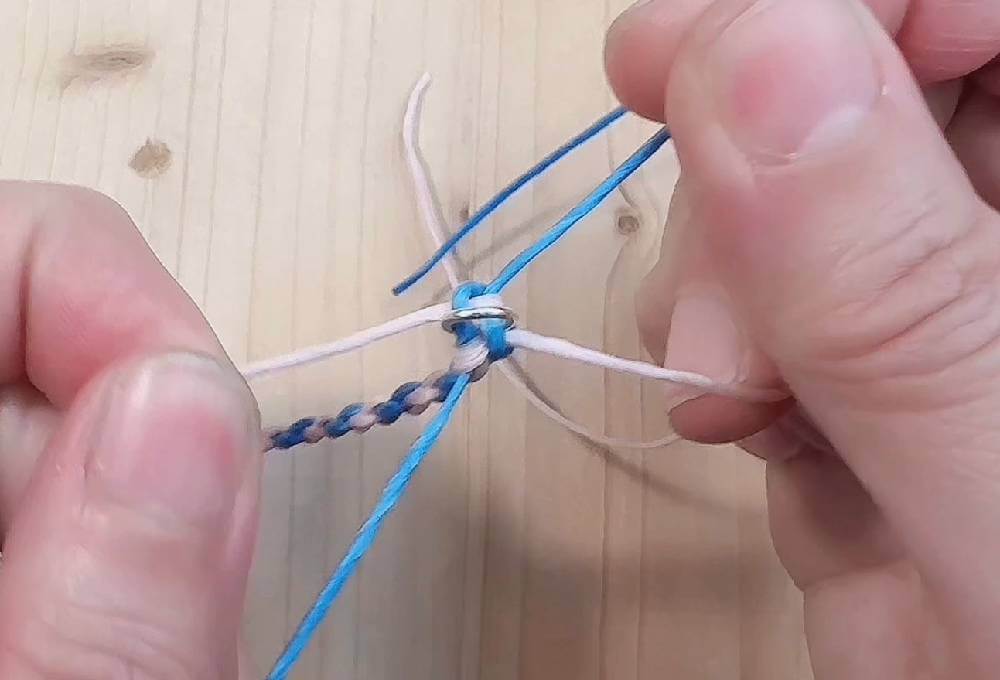
Now it’s time to finish the ends. Spread the four cords out.
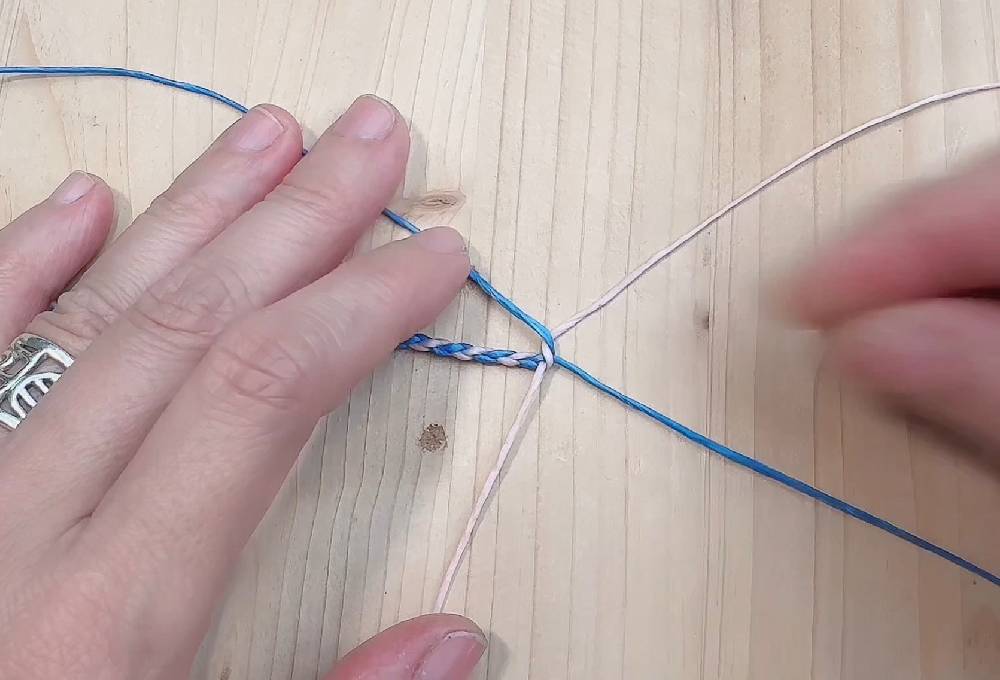
Take the blue cord at the bottom right and pass it up through the soldered jump ring.
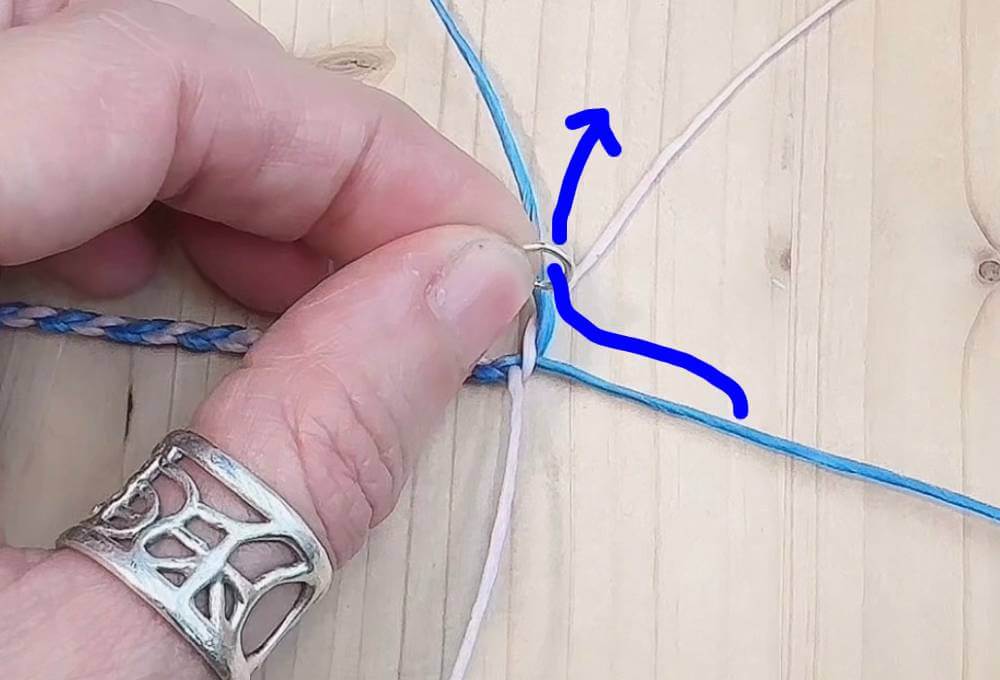
leave a loop like the photo below.
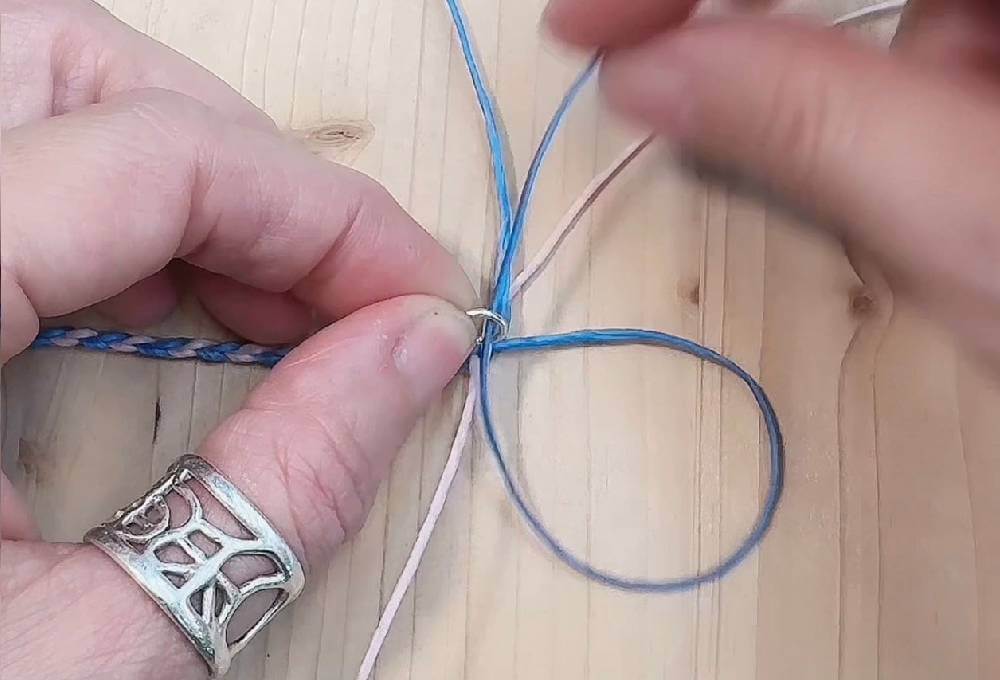
Move the pink cord at the top right over to the left.
It will look like the photo below.
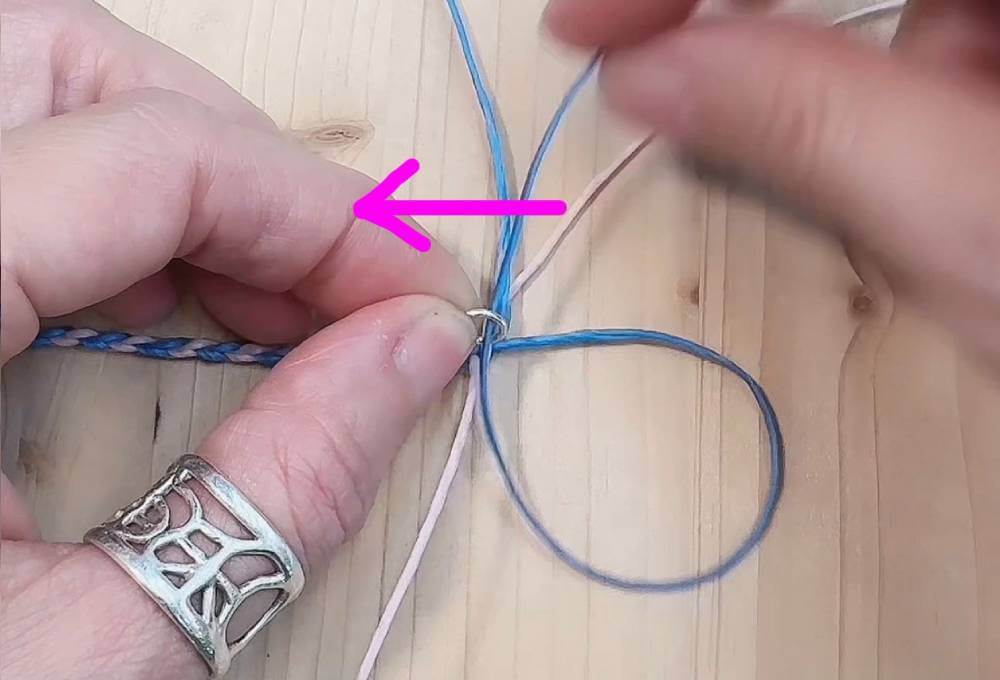
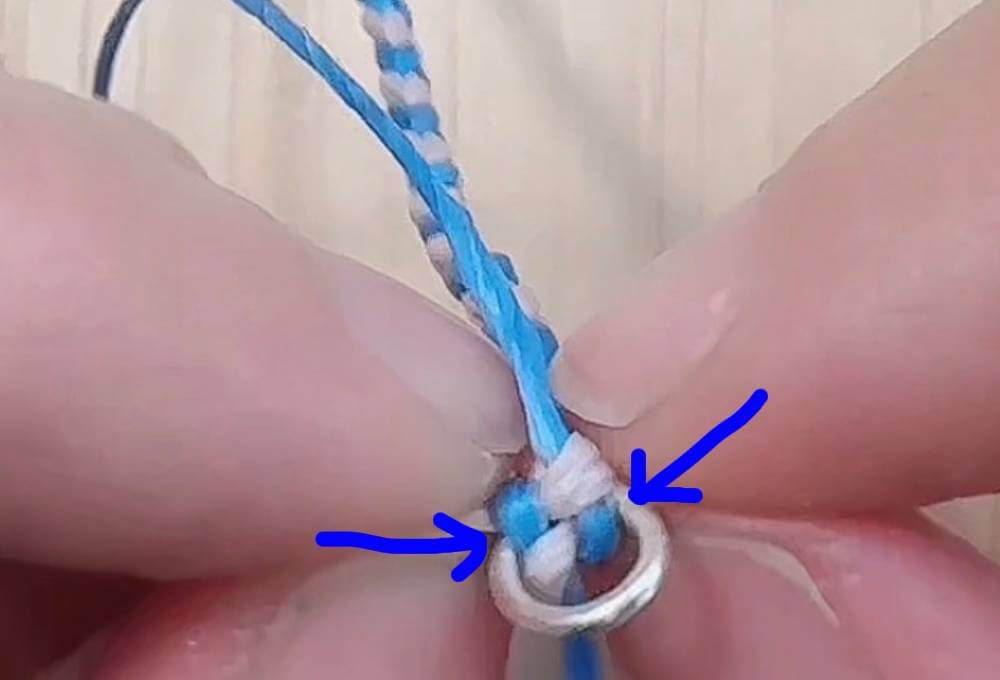
Take the blue cord at the top left, pass it through the soldered jump ring, and pull it downward. (Be careful not to pick the wrong blue cord.)
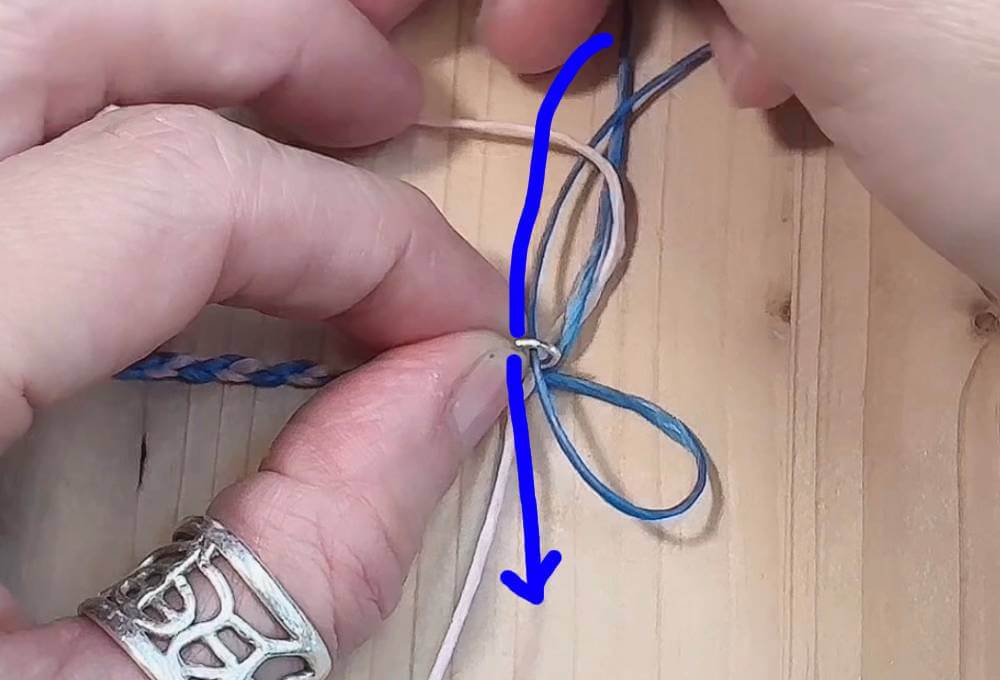
After the step, it will look like the photo below.
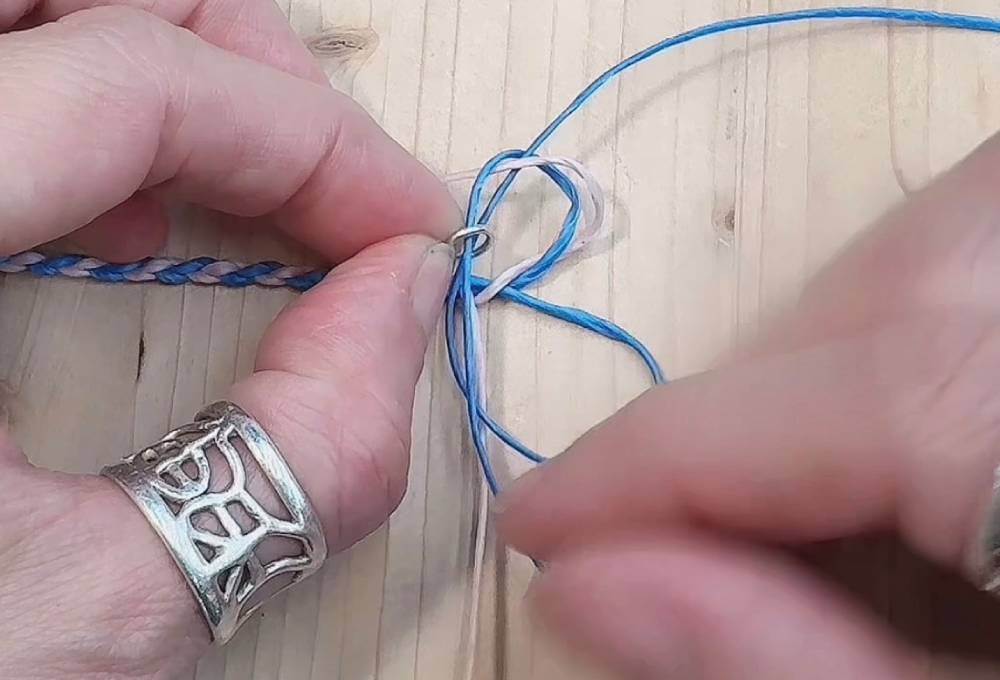
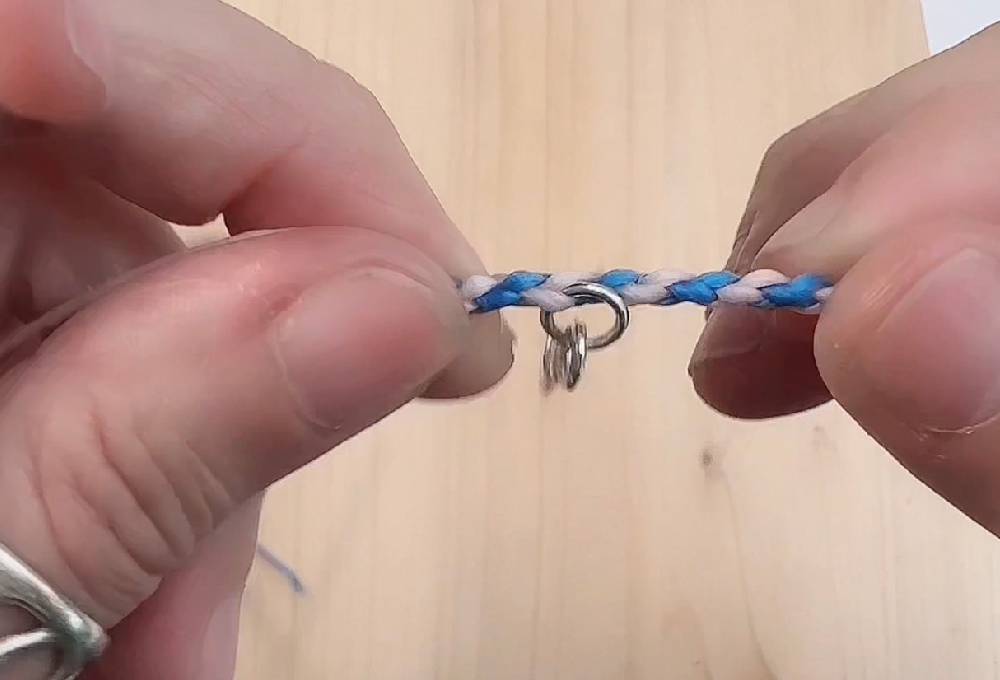
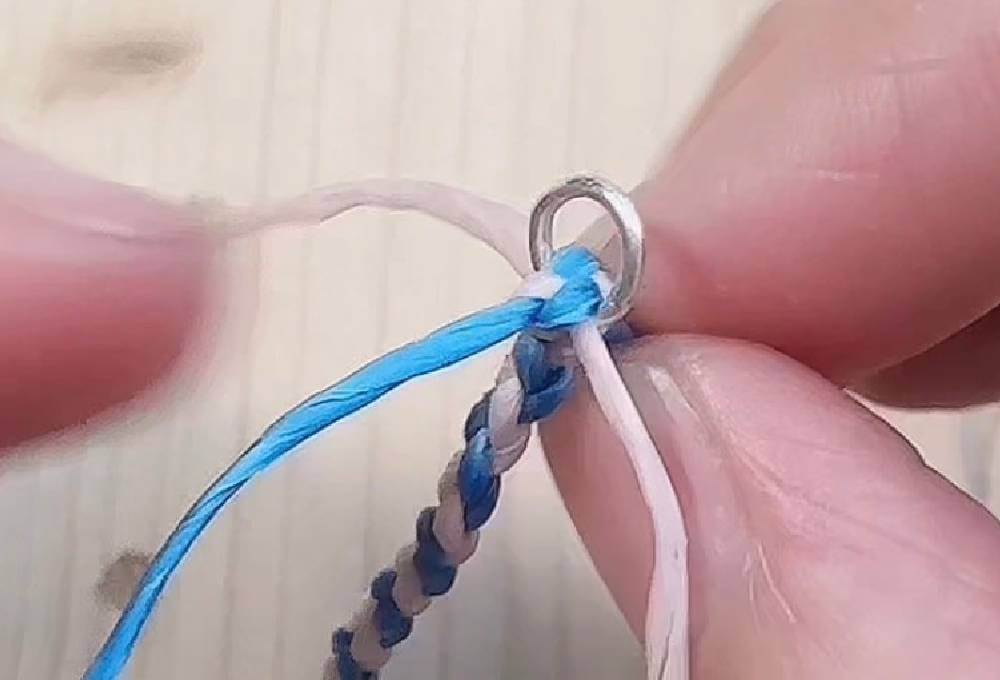
Pass the bottom pink cord to the right, through the loop of the first blue cord.
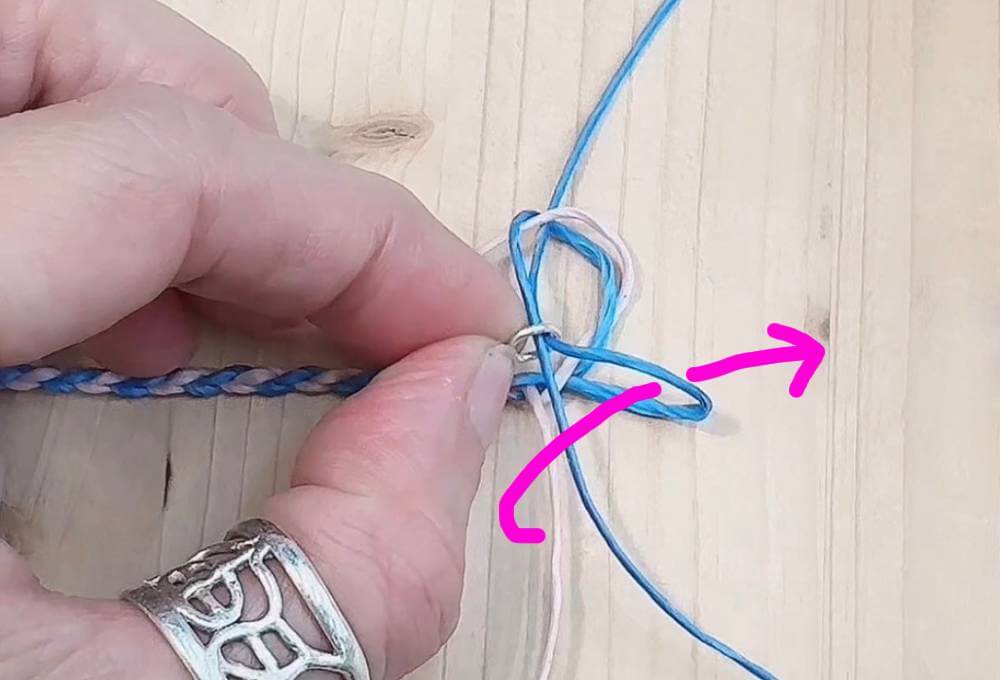
That secures the ending.
Tighten the cords.
Make sure it looks like the photo below.
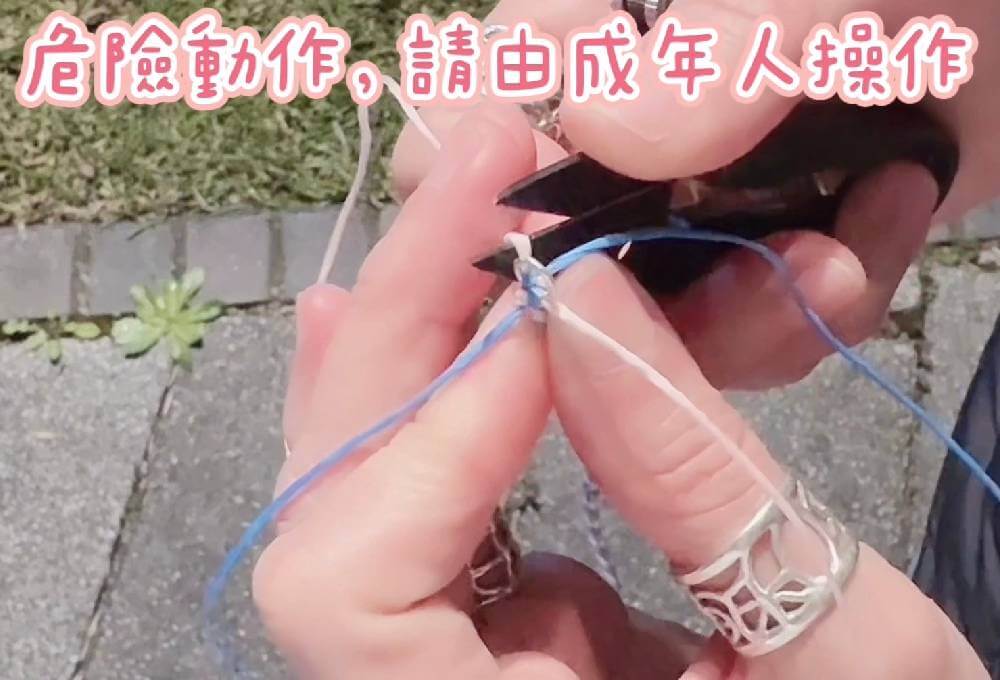
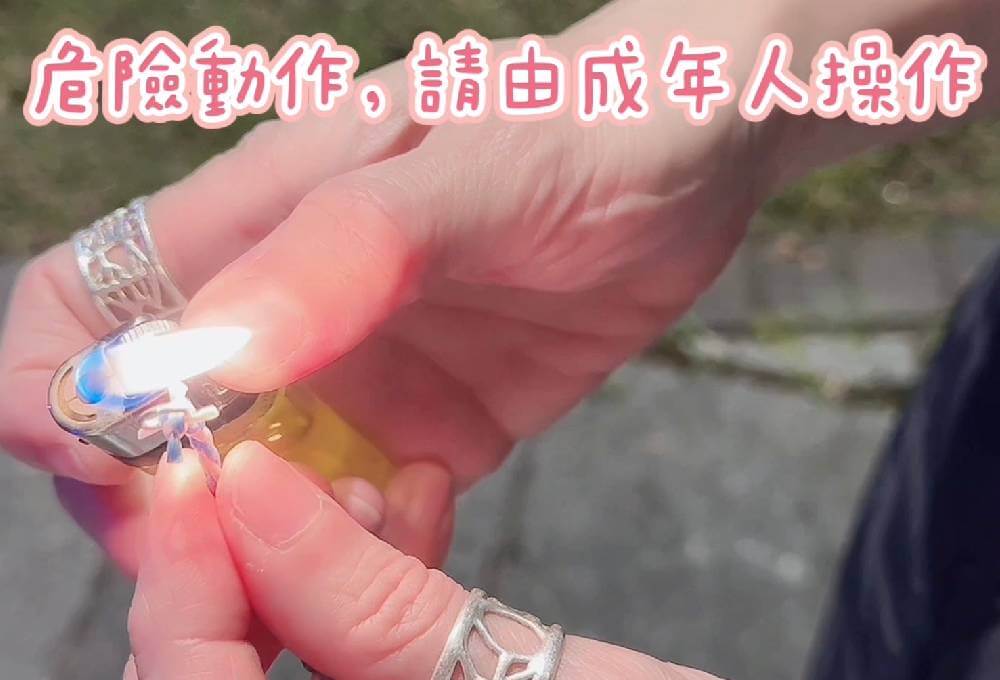
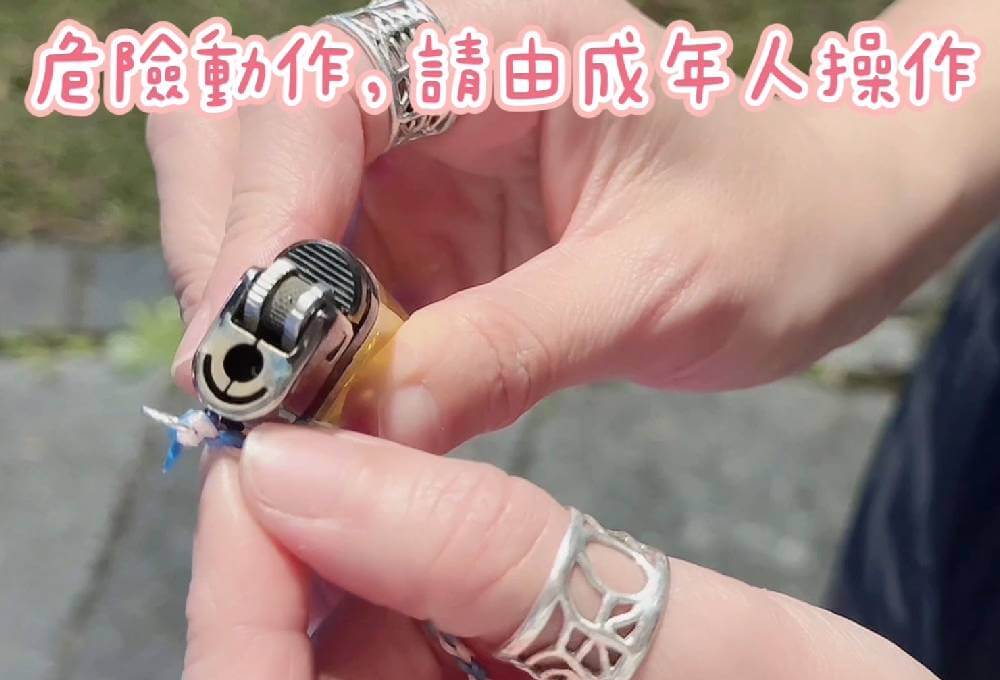
Step 6 Seal the ends
This step involves fire, so it must be done by an adult.
Cut off the extra cord, leaving a small tail.
Use a lighter to melt the ends. Melt them until a small ball forms.
Then use the hot metal edge of the lighter to press the melted end flat and seal it. Repeat for all four ends. Make sure each end is fully melted so it won’t come loose. Also make sure the soldered jump ring is firmly attached and cannot be pulled off.
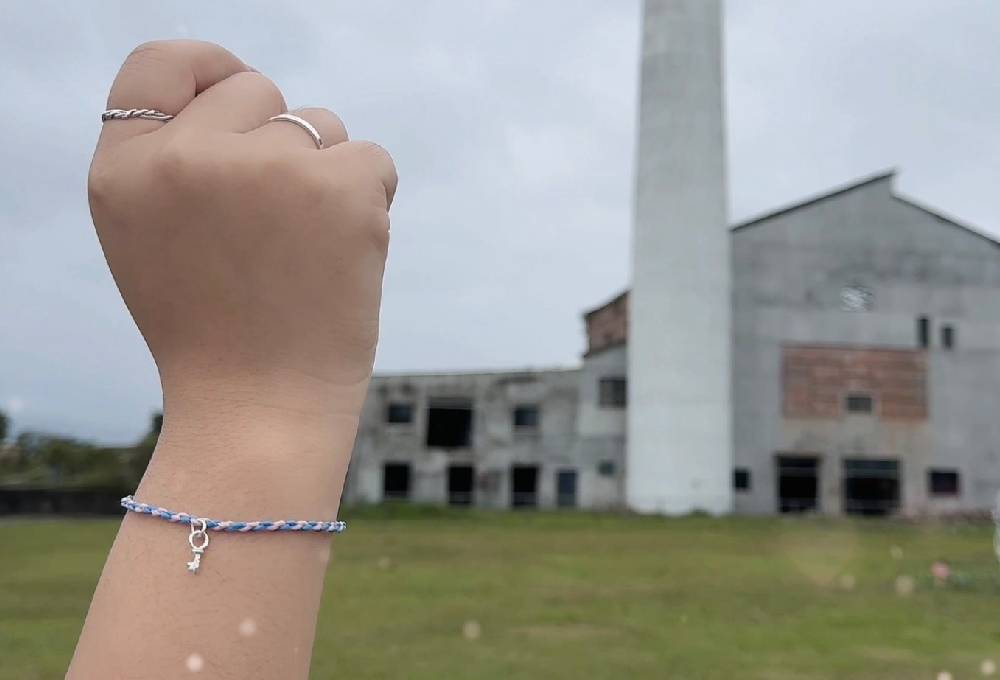
It’s finished!